For most teams, embroidered patches with a sew-on backing hit the best balance of durability, cost, and detail, especially for jerseys, jackets, and caps that see regular wear. Chenille works better for a bold, retro varsity look. Before committing to a bulk run, always request a sample or proof to confirm colors, size, and backing compatibility with your actual fabric. Some custom patch manufacturers offer free samples and fast quotes, which makes that first step easy.
TL;DR:
- Most teams should choose embroidered patches with sew-on backing for durability, cost-effectiveness, and suitability for jerseys and jackets with frequent use.
- Matching patch material and backing to the fabric type is crucial, as heat-activated adhesives may not work well on moisture-wicking performance fabrics like athletic jerseys.
- For detailed logos, printed or woven patches are preferable, while chenille is ideal for bold lettering and mascot outlines on jackets.
- Ordering should include a test patch and proof to avoid color mismatches or peeling issues, especially when using heat-active backings on synthetic fabrics.
- The overall cost depends on size, stitch count, backing type, and quantity, with bulk orders offering significant per-unit savings and longer lead times for complex designs.
Table of Contents
- What Types of Team Logo Patches Are There?
- Which Backing and Attachment Method Should You Use?
- What Design Specs Do You Need Before Ordering?
- What Drives Cost, Minimums, and Lead Times?
- How Do You Choose a Reliable Patch Vendor?
- Client Evidence: What Lee Embroidery Brings to Team Orders
- How to Order From Lee Embroidery
- An Editorial Take on Getting Patches Right the First Time
- Sources
- FAQ
What Types of Team Logo Patches Are There?
Not every logo belongs on the same material. The construction you choose affects how the patch looks, how long it lasts, and what it costs per unit, so it pays to match the type to the job before you order anything.
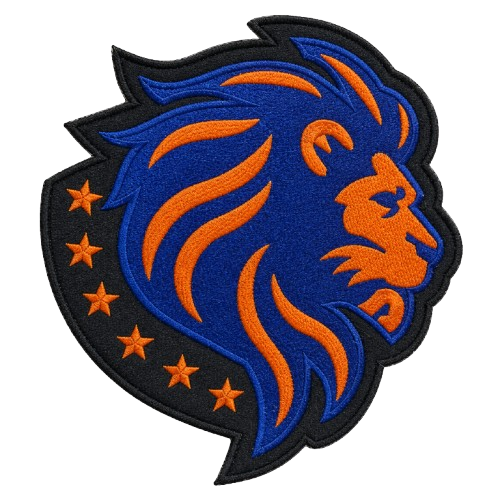
Embroidered patches use thread stitched onto a fabric backing to build up texture and dimension. They’re the default choice for team crests, mascots, and bold lettering because the raised thread gives logos a classic, tactile look. Embroidery struggles with tiny text and photo-realistic gradients, since thread can only render so much fine detail before letters blur together. Custom embroidered patches suit shields, letters, and simple emblems far better than complex artwork.
Chenille patches use a looped yarn technique that creates a thick, fuzzy texture, the same look you’d see on old-school letterman jackets. They read big and bold from a distance, which makes them a favorite for team letters, numbers, and mascot outlines on jacket backs.
PVC rubber patches are molded from soft rubber and hold color extremely well in outdoor conditions. They’re a strong pick for tactical gear, bags, and outerwear that faces rain, mud, or heavy washing, since the material won’t fray or fade the way stitched thread can.
Woven patches are flat-woven rather than stitched, which allows for much finer detail and small text than embroidery can achieve. They work well when a logo has thin lines or a lot of lettering that needs to stay crisp at a small size.
Printed patches use dye-sublimation or heat transfer to reproduce full-color, photo-quality artwork, including gradients and shading embroidery can’t touch. They’re the right call when a design has too much detail for thread.
Leather patches bring a rugged, premium feel, often debossed or laser-etched with a logo. They’re common on caps, bags, and outerwear where a team wants a more upscale finish than fabric offers.
Here’s how these typically line up with common team gear:
- Jerseys and team shirts: embroidered or woven, depending on detail level.
- Letterman and varsity jackets: chenille for classic lettering, embroidered for crests.
- Caps and hats: embroidered or leather for a clean, structured look.
- Bags and tactical gear: PVC for weather resistance and flexibility.
- Full-color or photo-style logos: printed patches.
Which Backing and Attachment Method Should You Use?
The backing you choose matters as much as the patch material itself, because it determines whether the logo stays put through a season of practices, washes, and games. Four backings dominate the market, and each one suits a different fabric and use case.
Iron-on (heat-seal) backing uses a heat-activated adhesive that bonds when pressed with an iron or heat press. It’s fast and requires no needle or thread, which makes it appealing for quick, small-batch jobs. Sew-on backing has no adhesive at all. It requires stitching the patch to the garment, but it holds far longer under stress, washing, and repeated wear. Velcro (hook-and-loop) backing lets you swap patches on and off the same garment, a common choice for tactical vests, uniforms with rank or name changes, and gear bags. Peel-and-stick adhesive backing offers instant, no-tool application, but it’s the least durable option and best reserved for temporary or one-time use, like a single event or costume.
Fabric compatibility decides more than most buyers expect. Iron-on backings bond well to natural, heat-tolerant fabrics like cotton, where the adhesive can properly melt into the weave. Sewing is the more secure method for synthetic, moisture-wicking athletic jerseys, since those performance fabrics resist heat and adhesive far more than cotton does. Pressing a hot iron onto a moisture-wicking jersey risks scorching the fabric or getting a bond that peels within a few wears.
Here’s a simple decision process to follow before you apply anything:
- Check the garment tag for heat sensitivity or synthetic fiber content.
- Test the iron-on backing on a hidden, inconspicuous corner of the fabric first, never the visible front.
- If the fabric resists heat, warps, or the label warns against ironing, switch to sew-on instead.
- For jerseys with wicking fabric, request an embroidered patch with sew-on backing rather than iron-on.
- For gear that needs interchangeable patches, choose Velcro backing at the order stage, since it can’t be added after production.
Pro Tip: Always do a heat and adhesion test on a scrap piece of the same fabric before committing to a full batch. A five-minute test can save an entire uniform order from peeling patches mid-season.
Insiders in patch production lean the same direction: when applying anything heat-activated to performance fabric, test first and default to sewing if there’s any doubt. It’s a small extra step that avoids reordering an entire run of jerseys two weeks before opening day.
What Design Specs Do You Need Before Ordering?
Getting from a logo idea to a finished patch starts with the artwork you send. Vector files, typically AI, EPS, or PDF format, produce the cleanest results because they scale without losing edge quality. If you only have a raster file like a JPG or PNG, send the highest resolution version you have, ideally 300 DPI or higher at the actual finished size, so digitizers can trace clean lines without guessing at blurry edges.
Design choices translate differently depending on the patch type you picked earlier:
- Thin lines and small text often get lost in embroidery, since thread has a minimum width it can stitch cleanly; woven or printed patches handle fine detail better.
- Gradients and shading don’t translate to thread at all; printed patches are the only reliable way to reproduce them.
- Solid, bold shapes with clear color separation stitch beautifully and are the sweet spot for embroidery and chenille.
- Color count matters for cost on embroidered patches, since more thread colors mean more machine passes.
Border style affects both looks and cost. A merrowed border uses a satin-stitched edge that gives patches a rounded, finished look and adds durability against fraying. A laser-cut border follows the exact outline of the logo, useful for irregular shapes like mascots or letters that don’t fit a clean circle or rectangle. If you’re converting a printed logo into an embroidery-ready file, a digitizing service handles that translation so the stitch paths match your original artwork.
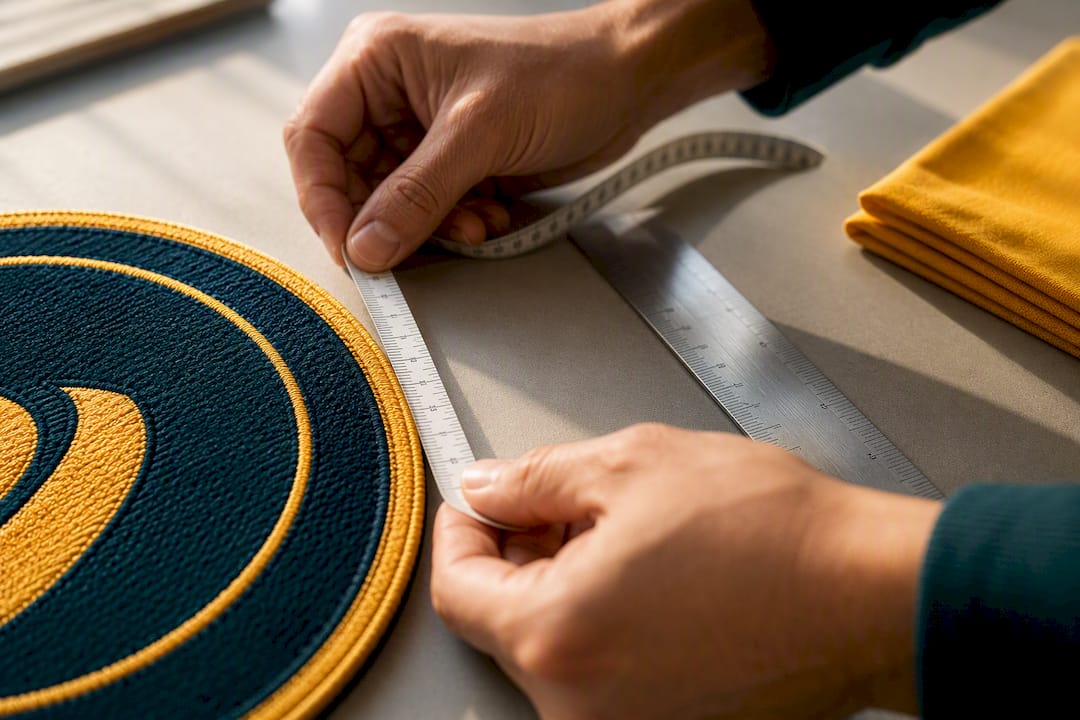
For sizing, most jacket back logos run 8 to 12 inches wide, left chest logos run 3 to 4 inches, and cap logos stay closer to 2 to 2.5 inches to fit the curved panel without distortion.
What Drives Cost, Minimums, and Lead Times?
Price on a custom patch order comes down to a handful of variables you control directly. Size is the biggest factor, since larger patches use more material and machine time. Stitch count matters just as much for embroidered patches, because dense, detailed designs take longer to sew than simple block letters. Backing type adds or subtracts cost too. Velcro and PVC generally cost more per unit than a basic iron-on or sew-on patch. Quantity is where the real savings show up, since per-unit price typically drops as order volume climbs, and any special finish like metallic thread, glow-in-the-dark elements, or a laser-cut border adds a line to the quote.
Lead times vary by order size and whether you request a proof first. A small order of a few dozen patches with a straightforward design can often move through production quickly, while large bulk orders or complex, multi-color designs take longer. Requesting a sample or proof before full production adds a short amount of time upfront but reduces risk considerably, since it lets you catch a color mismatch or sizing issue before hundreds of patches are already stitched.
If you’re ordering for a whole league or multiple teams, a few practices help:
- Ask about staged deliveries so you’re not storing thousands of patches at once.
- Order slightly more than your roster size to cover roster changes and reorders later in the season.
- Lock your artwork and backing choice before the first production run, since mid-batch changes usually mean starting the quote process over.
- Compare per-unit pricing at a few different quantity tiers, since the jump from 50 to 200 units often drops the price more than people expect.
Retail single-piece patches for officially licensed team logos, the kind sold individually rather than in bulk, commonly list backing options and sizing directly on the product page, which gives a useful reference point for what a finished patch should specify before you order in volume.
How Do You Choose a Reliable Patch Vendor?
A good quote request tells a vendor everything they need and tells you everything you need to know about whether they’re worth trusting with a bulk order. Before you send artwork anywhere, run through this checklist:
- Sample policy. Does the vendor offer a free or low-cost sample before you commit to full production?
- Proof and approval process. Will you see a digital or physical proof before your patches go into full production?
- Production photos. Can they show real photos of finished orders, not just stock renders?
- Minimums. What’s the smallest quantity they’ll produce, and does that fit your team’s size?
- Shipping and returns. What happens if a batch arrives with a defect or the wrong color?
- Material specs. Can they confirm thread count, backing options, and border style in writing before you pay?
When you request quotes, copy these exact questions to compare vendors fairly: What’s your turnaround time for this quantity? Do you offer a free sample or proof before full production? What’s the estimated stitch count for this design? What backing options do you support for this patch type? What’s your tolerance if I need to resize the artwork slightly?
Watch for a few red flags. A vendor that refuses to send any sample, won’t put backing or border specs in writing, or gives a vague answer on turnaround is one to avoid for anything beyond a tiny, low-stakes order. Product pages that clearly list backing options, sizing, and return policies are generally a better sign than a bare-bones listing with no specs at all.
Client Evidence: What Lee Embroidery Brings to Team Orders
Lee Embroidery produces embroidered, chenille, PVC, woven, printed, and leather patches, with full customization of backing type and border style for each. That range matters for teams juggling different gear, jerseys need one construction, jacket backs need another, and having one vendor who covers all of it simplifies the ordering process considerably.
Rapid quote turnaround and complimentary samples can reduce the guesswork that usually comes with a first-time bulk order. You see the actual color, texture, and stitch quality before committing to hundreds of units, which matters more for teams than for a one-off gift patch. Bulk-order capability is important for clubs and leagues ordering across multiple rosters or seasons, where consistent quality across a large batch is the entire point of using a dedicated manufacturer instead of a generic print shop.
How to Order From Lee Embroidery
Once you know your patch type and backing, ordering is straightforward. A solid quote request includes your quantity, finished size, artwork file (vector preferred, high-resolution raster as a backup), backing preference, and your deadline. The more specific you are upfront, the fewer rounds of back-and-forth you’ll need before production starts.

Some vendors provide rapid quote turnaround paired with a complimentary sample, so you can check color accuracy and stitch quality before a single unit goes into full production. That’s a meaningful difference from ordering blind off a catalog and hoping the finished batch matches what you pictured.
The sample and proof process typically starts once you submit artwork through the main patch ordering page, where the team reviews your file, confirms backing and border details, and sends a quote. From there, a sample or digital proof lets you sign off before the full run begins. If your logo needs converting from a flat image into an embroidery-ready file, the digitizing service handles that step, with Left Chest and Cap digitizing starting at $10 and Jacket Back digitizing starting at $30. Custom patch orders themselves start at $99. If you’re ready to move forward, submitting your artwork and quantity through the embroidered patches page or the main site is the fastest way to get a quote in hand.
An Editorial Take on Getting Patches Right the First Time
Most patch-ordering mistakes trace back to skipping the sample step, not to picking the wrong material outright. Teams get excited about a design, place a large order to save on per-unit cost, and only discover a color mismatch or a peeling iron-on backing after fifty jerseys are already in players’ hands. The fix is almost embarrassingly simple: never skip the proof, and default to sewing on anything synthetic unless you’ve personally tested the heat bond first.
The industry’s default advice, “iron-on is faster, so use it,” ignores how many modern team jerseys are built from moisture-wicking fabric that fights adhesive. Sewing costs a little more time upfront. It costs far less than reordering a whole roster’s worth of patches mid-season. Request a sample before your next order. It’s a small step that saves a lot of regret.
— Bilal
Sources
A few sources back up the technical points in this guide. The embroidered patch overview from DOY covers where thread-based patches excel and where they fall short on fine detail. Product listings from Patch Collection and Legacy Patches show real examples of backing options, sizing, and return policies on officially licensed team logo patches. For checking a supplier’s reputation, a Better Business Bureau listing is a solid starting point.
- Seattle Kraken primary team logo jersey shoulder patch – Patch Collection
- Los Angeles Dodgers primary logo embroidered patch – Legacy Patches
FAQ
What Are Team Logo Patches Made Of?
Team logo patches are typically made from embroidered thread, chenille yarn, PVC rubber, woven fabric, printed material, or leather, each offering a different texture and durability level. Embroidered patches remain the most common choice for bold team crests and lettering.
Should I Iron On or Sew On a Team Patch?
Sewing holds up better on synthetic, moisture-wicking jerseys, since iron-on adhesive bonds poorly to heat-resistant athletic fabric. Iron-on backing works fine on natural fabrics like cotton, but sewing is the safer default for performance gear.
How Much Do Custom Team Patches Cost?
Custom patches from Lee Embroidery start at $99, with the final price shaped by size, stitch count, backing, and quantity ordered. Larger bulk orders typically bring the per-unit price down.
How Long Does It Take to Get Custom Patches Made?
Turnaround depends on order size and design complexity, with small, simple orders generally moving faster than large or highly detailed runs. Requesting a sample or proof first adds a little time upfront but prevents costly reorders later.
Can I Get a Sample Before Ordering in Bulk?
Yes, requesting a complimentary sample or proof before a full production run is standard practice and lets you confirm color, size, and backing before committing to a large quantity. Some custom patch companies offer free samples specifically to reduce that risk for team and bulk orders.