The two practical patch border families are merrowed (overlock) and laser or heat-cut, with embroidered satin edges as a third sewn option. Choose merrow for classic rounded badges that need fray resistance, and laser or heat-cut for intricate shapes and a flatter finish. Each border changes how your design reads on fabric, so the right pick depends on shape, garment, and budget.
TL;DR:
- Ask suppliers to confirm the process: merrow requires a dedicated overlock machine, while satin stitching imitates its raised appearance without wrapping the cut edge.
- Choose laser or heat cut for sharp points and intricate outlines; the flat profile also suits low profile caps and thin garments.
- Match backing to use: merrow edges suit sewing or Velcro, while flat laser cut edges suit adhesive options, which can wear under heavy washing.
- Keep fine text and thin strokes away from merrow edges, where added stitching can crowd details; laser or heat cut permits closer placement.
- Request a sample before bulk production, especially for fine text near the edge, then check clipping, edge quality, and fit on the intended garment.
Table of Contents
- 1. Types of Patch Borders You’ll Encounter
- 2. How Appearance, Durability, and Cost Compare Across Borders
- 3. How Border Choice Shapes Digitizing and Production Planning
- 4. A Decision Checklist and the Questions to Ask Your Supplier
- 5. Matching Borders to Caps, Uniforms, Jackets, and Odd Shapes
- 6. Mistakes to Avoid and Tips for Longer-Lasting Patches
- 7. How We Evaluate Border Choices for Every Order
- 8. What We’ve Learned About Picking the Right Border
- 9. Getting the Right Border Made, From Sample to Final Order
- FAQ
- Sources
1. Types of Patch Borders You’ll Encounter
Walk into any conversation about custom patches and you’ll hear three border names repeated: merrow, laser-cut, and embroidered edge. Each one is a different manufacturing process, not just a cosmetic choice, and each leaves a distinct signature on the finished piece.
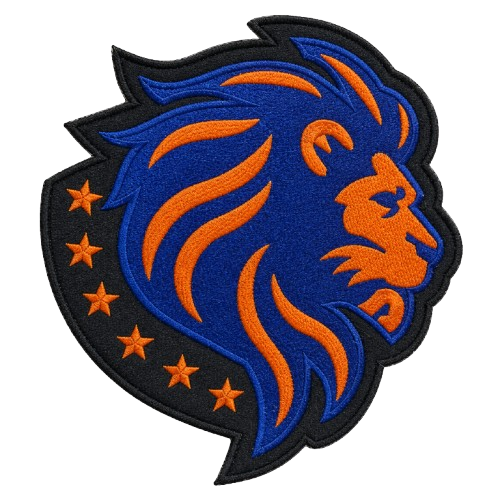
Merrow, or overlock, borders come from a dedicated industrial machine that wraps thread around the raw edge of the patch material. This is the classic look you’ve seen on military patches, varsity jackets, and scout badges for decades. The result is a raised, rounded edge with real mechanical protection against fraying, because the thread physically binds the fabric’s cut edge rather than just decorating it. A true Merrow overlock finish requires that dedicated machine; an embroidery machine can imitate the look with dense satin stitching, but that imitation does not wrap the edge the same way, so it lacks the structural bite of a genuine merrow border.
Laser-cut and heat-cut borders, sometimes called hot-cut, trim the patch to its finished contour using heat or a laser beam instead of thread. The heat seals synthetic fibers right at the cut line, which means the edge holds its shape without needing a thread wrap around it. This opens the door to sharp corners, thin points, and complex outlines that a merrow border physically cannot follow, and it keeps the patch nearly flat, which matters for low-profile caps or garments where a raised edge would catch or bunch.
Embroidered, or satin, edges are a sewn alternative built from dense rows of stitching along the patch perimeter. Shops use this approach when a design can’t run through an overlock machine, often because of its shape, and they need something that reads as a finished border without the raised merrow profile. It’s a practical stand-in, though it behaves differently than a true overlock wrap in both appearance and edge strength.
A quick note on terminology before we go further:
- Merrow and overlock mean the same process; suppliers use the names interchangeably.
- Laser-cut, heat-cut, and hot-cut are also used interchangeably by most manufacturers, referring to the same heat-sealed trimming method.
- Satin edge and embroidered border both describe a stitched finish rather than a cut or wrapped one.
- A die-cut patch usually refers to the shape produced by laser or heat-cutting, not a separate border family.
Knowing these overlaps matters when you’re comparing quotes, because two suppliers might describe the identical process with different words. If a quote mentions “hot-cut” and another says “laser-cut,” you’re very likely looking at the same production method. Our embroidered patches page breaks down stitch options for shops weighing a satin edge against a full merrow wrap.
2. How Appearance, Durability, and Cost Compare Across Borders
Once you understand what each border actually is, the next question is practical: which one fits your budget, your shape, and how the patch will be worn. The trade-offs break down along a handful of dimensions that matter to nearly every buyer.
- Appearance and profile: Merrow sits raised and rounded, giving patches a traditional, dimensional look; laser-cut lies flat against the garment, which suits modern logos and minimalist designs.
- Shape flexibility: Merrow performs best on curved, rounded, or simple outlines, since the overlock machine needs a continuous path around the edge; laser-cut handles sharp angles, thin points, and intricate silhouettes that would break a merrow stitch.
- Durability and fray resistance: A genuine merrow border provides strong mechanical protection against fraying because the thread physically wraps the cut edge; a sealed laser or heat-cut edge resists fraying too, but through heat-sealing the fibers rather than wrapping them.
- Cost and turnaround: Merrow borders typically add machine time for the overlock pass; laser-cut skips that step but may require more precise digitizing work upfront for complex shapes, shifting the cost rather than eliminating it.
- Backing and attachment compatibility: A raised merrow edge pairs naturally with sew-on or Velcro backing, since the thickness gives stitching something substantial to grip; a flat laser-cut edge works well with iron-on or peel-and-stick backing where a low profile matters.
None of these trade-offs make one border universally better. A military unit patch calling for a classic look and heavy wash cycles points toward merrow, while a thin, multipoint company logo destined for a low-profile cap points toward laser-cut. The right answer depends on matching the border’s strengths to what the patch needs to survive and where it needs to sit.
3. How Border Choice Shapes Digitizing and Production Planning
Border type isn’t just a finishing decision, it changes how a digitizer builds the stitch file in the first place. Get this wrong and you’ll see it in the final product: text crowding the edge, colors bleeding into the border, or fine details lost entirely.
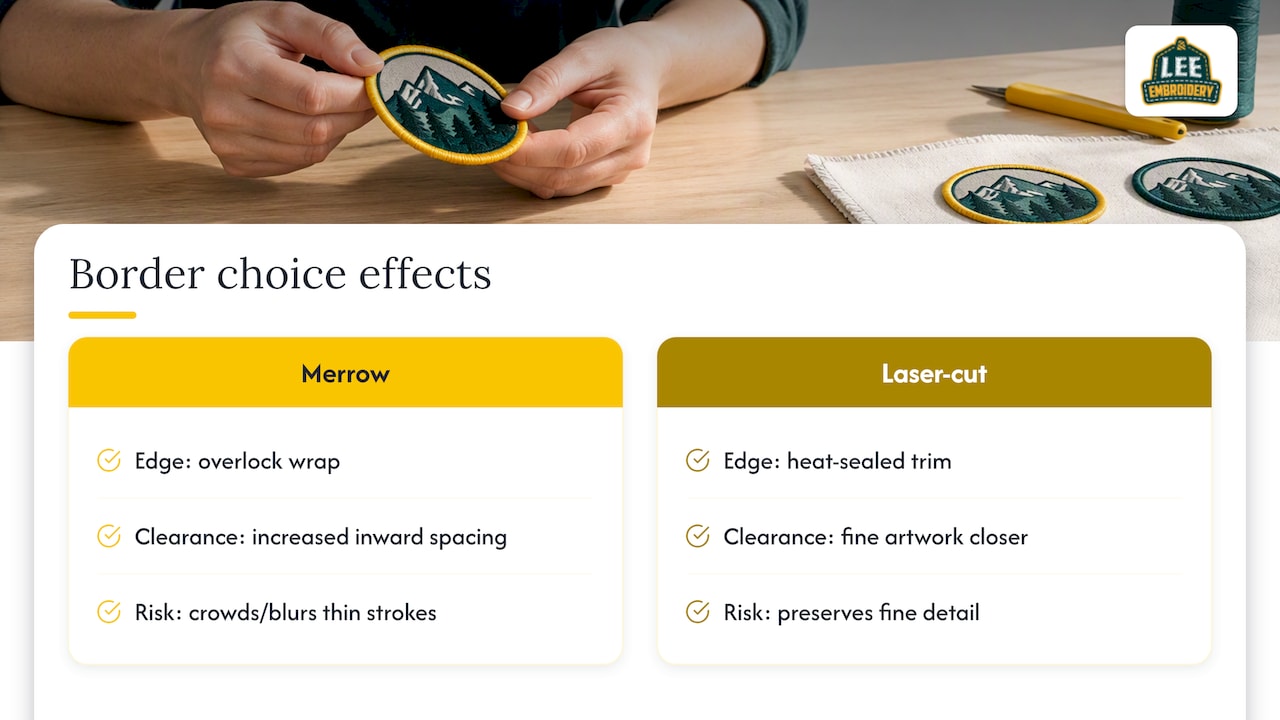
When a merrow border is specified, digitizers typically increase the edge allowance and adjust stitch density near the perimeter, because that mechanical wrap process needs room to work and because the merrow stitching itself adds visual density right at the border. This means any text or thin linework in your design needs to sit a reasonable distance inward, or it risks getting crowded out by the overlock stitching. Thin strokes placed too close to a merrow edge often blur into the border visually, even when the stitching itself is technically clean.
Laser-cut borders work differently. Since the heat-sealed trim defines the final shape with precision, digitizers can often push finer artwork closer to the edge, knowing the laser will follow the exact contour without adding bulk. That’s part of why laser-cut suits intricate logos: the production method supports detail that a merrow wrap would obscure or simply couldn’t physically follow.
This is also where border selection intersects with backing and attachment choices, since the files and processes both feed into a single production run handled through our embroidery digitizing service for left chest, cap, and jacket back placements.
Pro Tip: Request a small pre-production sample before committing to a full run, especially when you’re choosing between merrow and laser-cut for a design with fine text or thin lines near the edge.
4. A Decision Checklist and the Questions to Ask Your Supplier
Picking a border doesn’t need to be complicated once you work through a short list of practical questions. Start with these before you request a quote:
- What garment or surface will the patch sit on? Caps and low-profile jackets favor flatter borders; traditional uniforms and badges often call for a raised merrow edge.
- How complex is the shape? Simple rounded or oval outlines suit merrow; sharp corners, thin points, or multi-piece logos need laser or heat-cut.
- What profile do you want? Decide if you want the dimensional, raised look of merrow or the low, flat finish of a laser-cut edge.
- How often will it be washed? Frequent washing favors a border with strong fray resistance and a backing matched to that stress.
- What’s the budget and order size? Larger runs may shift the cost math between merrow’s machine time and laser-cutting’s digitizing precision.
- Will you request a sample first? Always say yes. A physical sample catches sizing, color, and edge issues before they turn into a reprint.
Once you’ve answered those, bring a short, specific set of questions to your supplier during quoting:
- Which machine or process will actually produce this border: a true overlock machine, a laser cutter, or a heat-cut tool?
- What edge clearance do you recommend for my specific artwork given the border I’ve chosen?
- Do you offer a complimentary sample, and what’s the turnaround on it?
- What backing options pair best with this border for my intended use?
A vendor who answers these clearly and specifically, rather than with vague reassurances, is one worth trusting with your production run. When your sample arrives, check the edge for consistent thread wrap or clean heat-sealing, confirm text and fine lines haven’t been crowded or clipped, and hold the patch against the actual garment to judge the profile before you approve full production. Our guide for custom patches walks through this ordering and sampling process in more depth.
5. Matching Borders to Caps, Uniforms, Jackets, and Odd Shapes
Different use cases tend to favor different borders, and recognizing the pattern makes future decisions faster.
- Caps and small circular patches usually do well with merrow borders, since the rounded shape plays to the overlock machine’s strength and the raised edge reads clearly even at small sizes.
- Uniform badges and traditional patches lean toward merrow almost by default, because the classic look and durable edge match what wearers expect from military, scouting, and workwear patches.
- Die-cut logos and thin-profile patches call for laser or heat-cut borders, especially when the design includes sharp points, letters, or a silhouette that a merrow machine couldn’t trace cleanly.
- Budget-conscious projects with irregular shapes sometimes land on an embroidered satin edge as a middle ground, trading some of merrow’s edge strength for a sewn finish that still looks intentional on shapes an overlock machine can’t handle.
The pattern holds across most orders: traditional and rounded shapes gravitate to merrow, intricate and flat-profile needs gravitate to laser-cut, and satin edges fill the gap when a shape resists both.
6. Mistakes to Avoid and Tips for Longer-Lasting Patches
The most common specification error is placing fine text or thin linework too close to the edge without accounting for the border type, which crowds merrow stitching or risks clipping on a laser-cut trim. A close second is choosing merrow for a sharply angled or multi-point logo, then being surprised when the overlock machine can’t follow the contour cleanly.
- Leave generous clearance for text and thin strokes, more for merrow than for laser-cut.
- Match backing to border: raised merrow edges pair well with sew-on or Velcro, flat laser-cut edges suit iron-on or peel-and-stick.
- Check wash care instructions against your backing choice, since heavy washing stresses adhesive backings more than sewn ones.
- Avoid assuming “hot-cut” and “merrow” are interchangeable quote terms; confirm which process you’re actually paying for by understanding reinforced seams for buyers & DIYers.
Our patch backing guide covers how bonding and stitching methods extend wear life once the border decision is made.
Pro Tip: Always inspect edge quality on a physical sample under normal light before approving a bulk run, since photos can hide thread density or sealing inconsistencies.
7. How We Evaluate Border Choices for Every Order
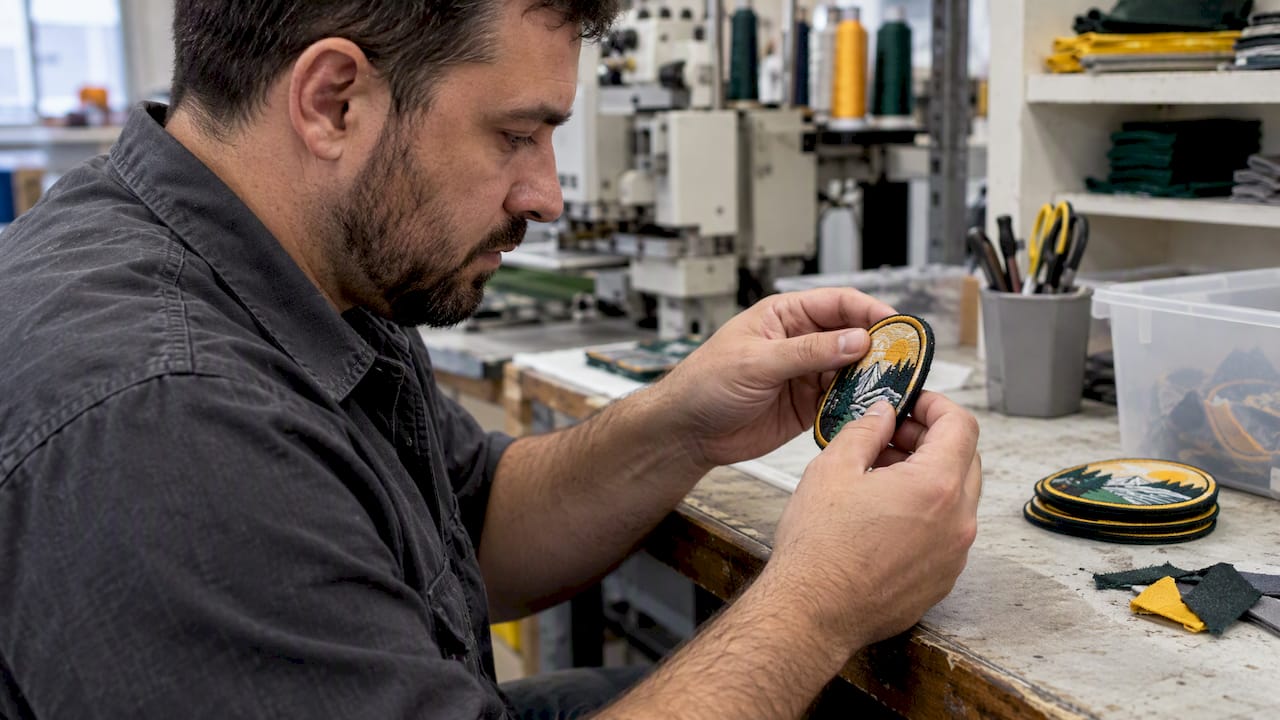
Every order starts with a look at the actual shape, intended garment, and how the patch will be used day to day. Rounded badges headed for uniforms or caps typically point us toward a merrow recommendation, while intricate logos or flat-profile placements point toward laser-cut, and we walk clients through that reasoning before production begins.
- We assess shape complexity and garment type together, since a border that looks great on paper can perform poorly on the wrong fabric or profile.
- We offer samples and quote turnaround, so you can confirm edge quality and color before committing to a full run.
- We work across embroidered, PVC, leather, chenille, woven, and printed materials, which means border recommendations account for how each material behaves at the edge.
- Our workflow moves from digitizing through sample approval to final quality checks, keeping team accountability from file prep to finished patch.
This hands-on review process is part of why clients come back for repeat orders rather than treating each run as a fresh gamble.
8. What We’ve Learned About Picking the Right Border
After years in this trade, the clearest lesson is that border choice rarely fails because someone picked the “wrong” option in the abstract. It fails because the border didn’t match the shape, the garment, or the wash routine the patch actually had to survive. A gorgeous merrow edge on a patch with six sharp points will look worse than a clean laser-cut version every time, and a flat laser-cut border on a thick varsity jacket can look thin and out of place next to traditional stitching.
The practical fix is simple: define your shape and use case honestly before you fall in love with a look, and confirm your instinct with a physical sample. Borders are a manufacturing decision disguised as a style choice, and treating them that way saves money and avoids reprints.
— Bilal
9. Getting the Right Border Made, From Sample to Final Order
Whatever border fits your design, we build it using the process that actually produces it, a true overlock machine for merrow, precise laser or heat-cutting for intricate shapes, and dense satin stitching where a sewn edge makes more sense. You get complimentary samples before committing to a full run and rapid quote turnaround so you’re not waiting weeks to see your design on fabric.

- Explore embroidered patches for merrow, satin, or laser-cut edges on classic designs.
- Check custom patches to start a quote across embroidered, PVC, leather, chenille, woven, and printed options.
- Request your free sample first, confirm the border and fit, then move to bulk production with confidence.
FAQ
What are the different types of patch borders?
The main types are merrowed (overlock) borders, laser-cut or heat-cut borders, and embroidered (satin) edges. Merrow gives a raised, rounded finish with strong fray resistance, while laser and heat-cut produce a flatter edge suited to intricate shapes, and satin edges offer a sewn alternative for designs that can’t run through an overlock machine.
What is a merrow border patch?
A merrow border patch has its edge wrapped in thread on a dedicated overlock machine, producing a raised, rounded finish with real fray protection. This is the classic look seen on military, scouting, and varsity patches for decades.
What are some types of patch border stitches?
Common stitch approaches include the overlock wrap used for merrow borders and dense satin stitching used for embroidered edges. Satin stitching can visually mimic a merrow look on shapes that an overlock machine can’t trace, though it doesn’t physically wrap the cut edge the way a true merrow finish does.
What is the border of an embroidered patch called?
It depends on the process: a wrapped, raised finish is called a merrow or overlock border, a trimmed and sealed finish is called a laser-cut or heat-cut edge, and a stitched finish without a physical wrap is called a satin or embroidered edge. Suppliers sometimes use these terms loosely, so it helps to confirm which actual process is being quoted.
How do I choose between merrow and laser-cut borders?
Choose merrow for rounded, traditional shapes that need strong edge durability, and laser or heat-cut for intricate outlines, sharp points, or designs that need a flatter profile. Requesting a physical sample before full production is the most reliable way to confirm the border looks and performs as expected on your specific design.